Laptops, smartphones, tablets, smart TVs, etc. … in the current era we hardly find an electronic device that isn’t connected to the Internet. It is very practical to have the full power of the Net at our fingertips, but unfortunately it is not without risks as the threat of being hacked is a real threat.
One of the best ways to mitigate this risk is to install and configure a firewall. Let see how to do it on Ubuntu.
Install and configure a firewall on Ubuntu
A firewall is a software (or a physical device) that monitors and controls the incoming and outgoing network traffic based on predetermined security rules and establishes a barrier between your computer (or network for the business grade firewalls) and the outside world such as the Internet.
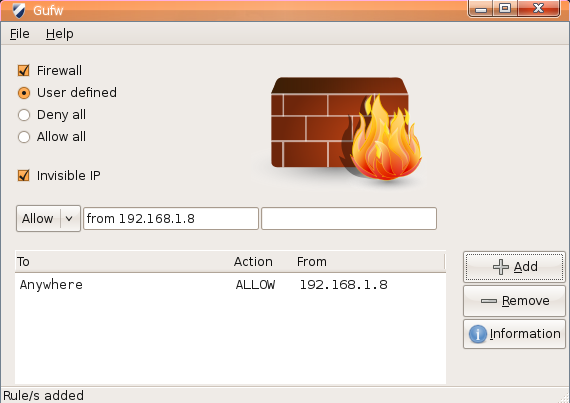
In this guide we will install UFW (acronym for Uncomplicated Firewall); the guide is for the latest release of Ubuntu, as it is the most popular distribution, but the commands should works on other distributions as well (in case substitute apt-get with the package manager of your distribution).
UFW should be already installed on Ubuntu, but to be sure open the terminal and use the following command:
which ufw
If the output of the above command is negative, we can install it with:
sudo apt-get install ufw
Once installed, log as root:
sudo su
And start UFW:
ufw enable
The firewall is now active; to be sure, use the following command:
ufw status verbose
Now that UFW is active, you can configure it to adapt it to your need. For example, if your computer is supposed to receive SSH connections you should open the port 22:
ufw allow 22
On the contrary, if you need to block it, type:
ufw deny 22
To check the status of the opened and closed ports, use the following command:
ufw status
Those are just some basic commands of UFW, but overall it is indeed a very easy software to use, especially to protect your PC and privacy.