Have you got an ISO file and you want to access the files inside, but your computer do not have a CD burner to write it on a CD/DVD to then read it? Fortunately you can easily mount ISO files in any latest operating systems with very simple commands and without the need dedicated programs and complex procedures.
Mounted ISO files are like a “virtual CD drive” which behaves exactly as if you inserted a CD/DVD into a CD drive, but with a couple of differences:
- As a pro point since the ISO files reside on your hard drive or SSD, the read speed of the files inside will be faster than a physical CD;
- As a con point, the ISO file will not be available outside of your operating system (so, for example, you can not boot the PC from it).

Windows 10
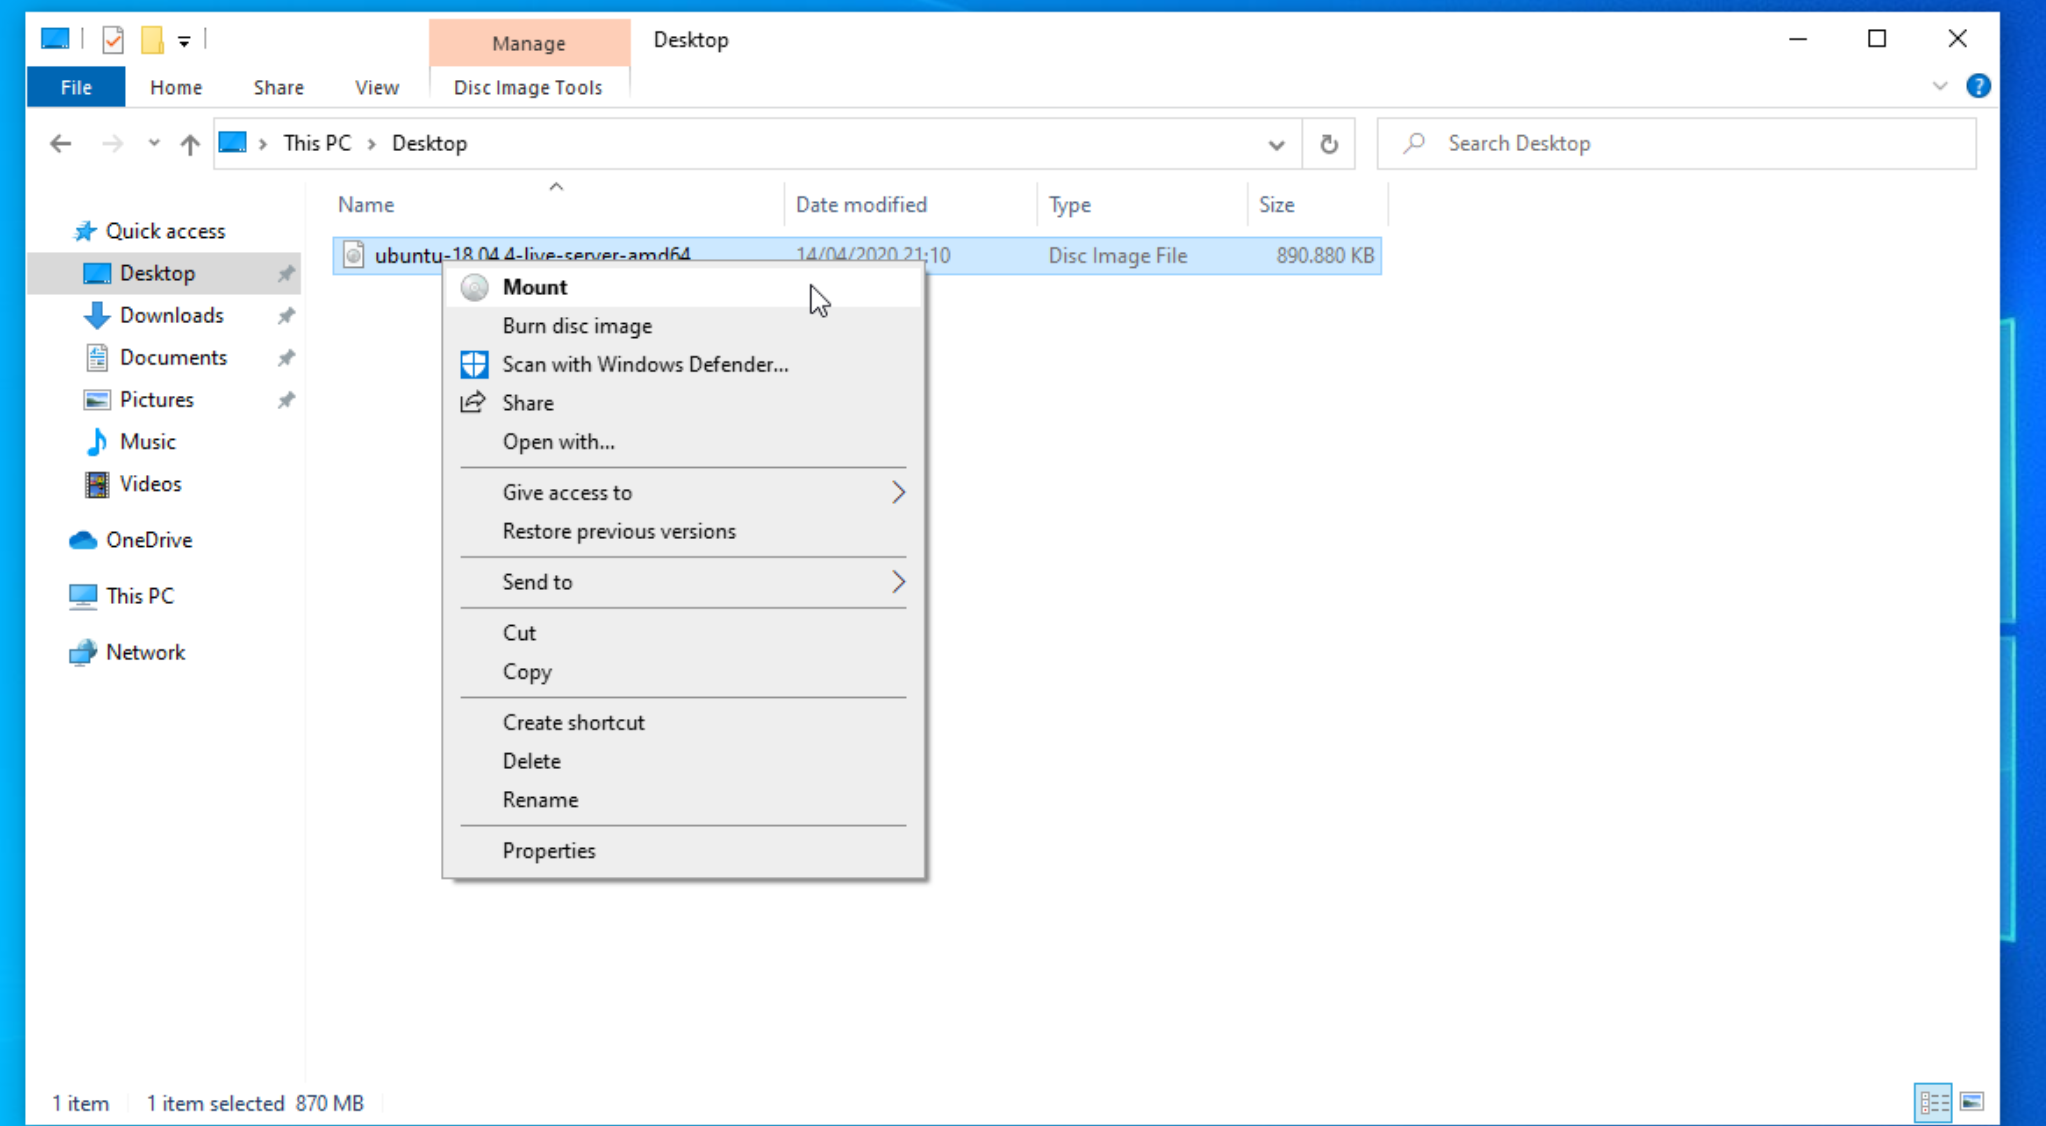
To mount ISO file in Windows 10 you just have to right-click the file and select “Mount” from the menu.
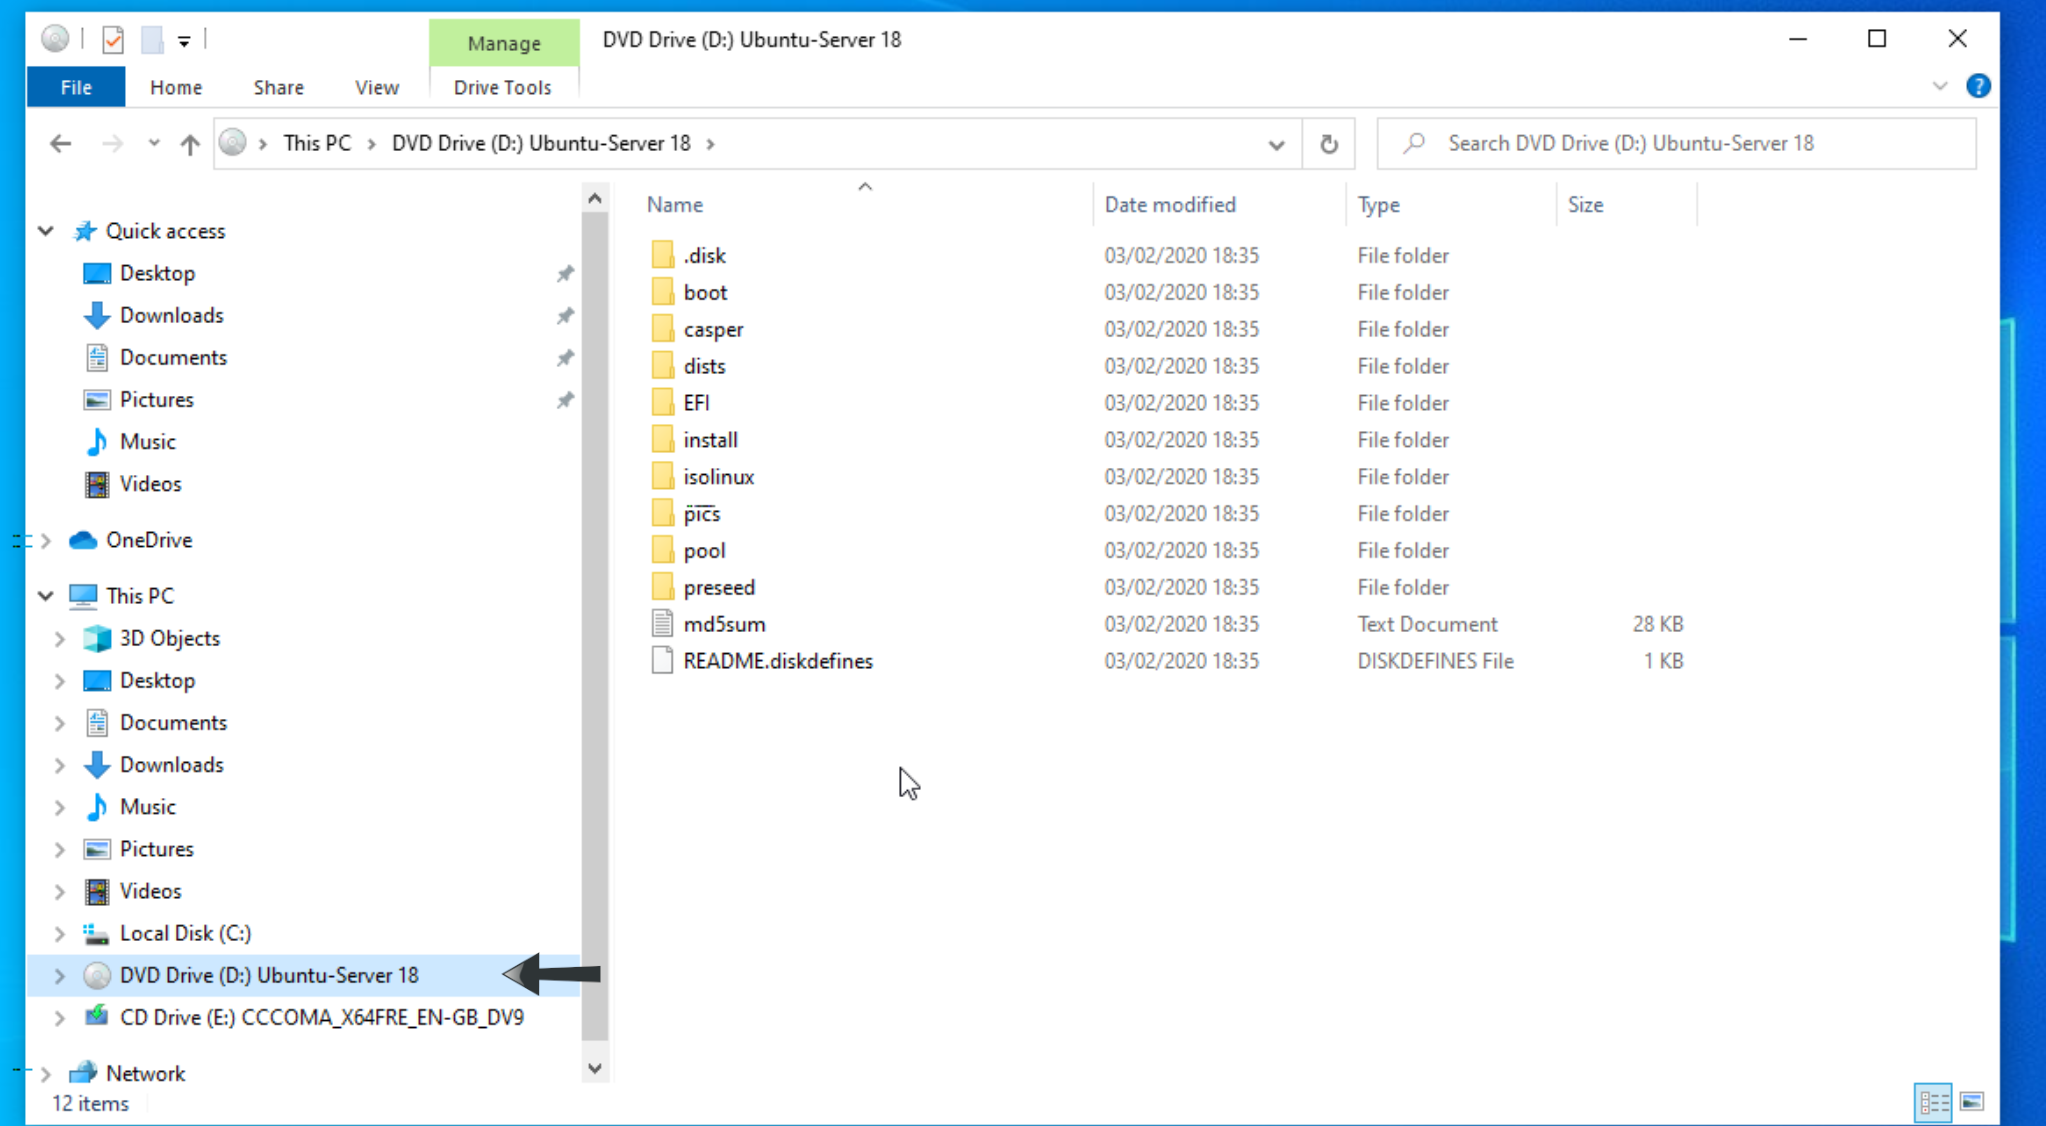
As expected the operating system will create a virtual CD drive that will host the content of our ISO image. We can access the ISO mounted on Windows Explorer.
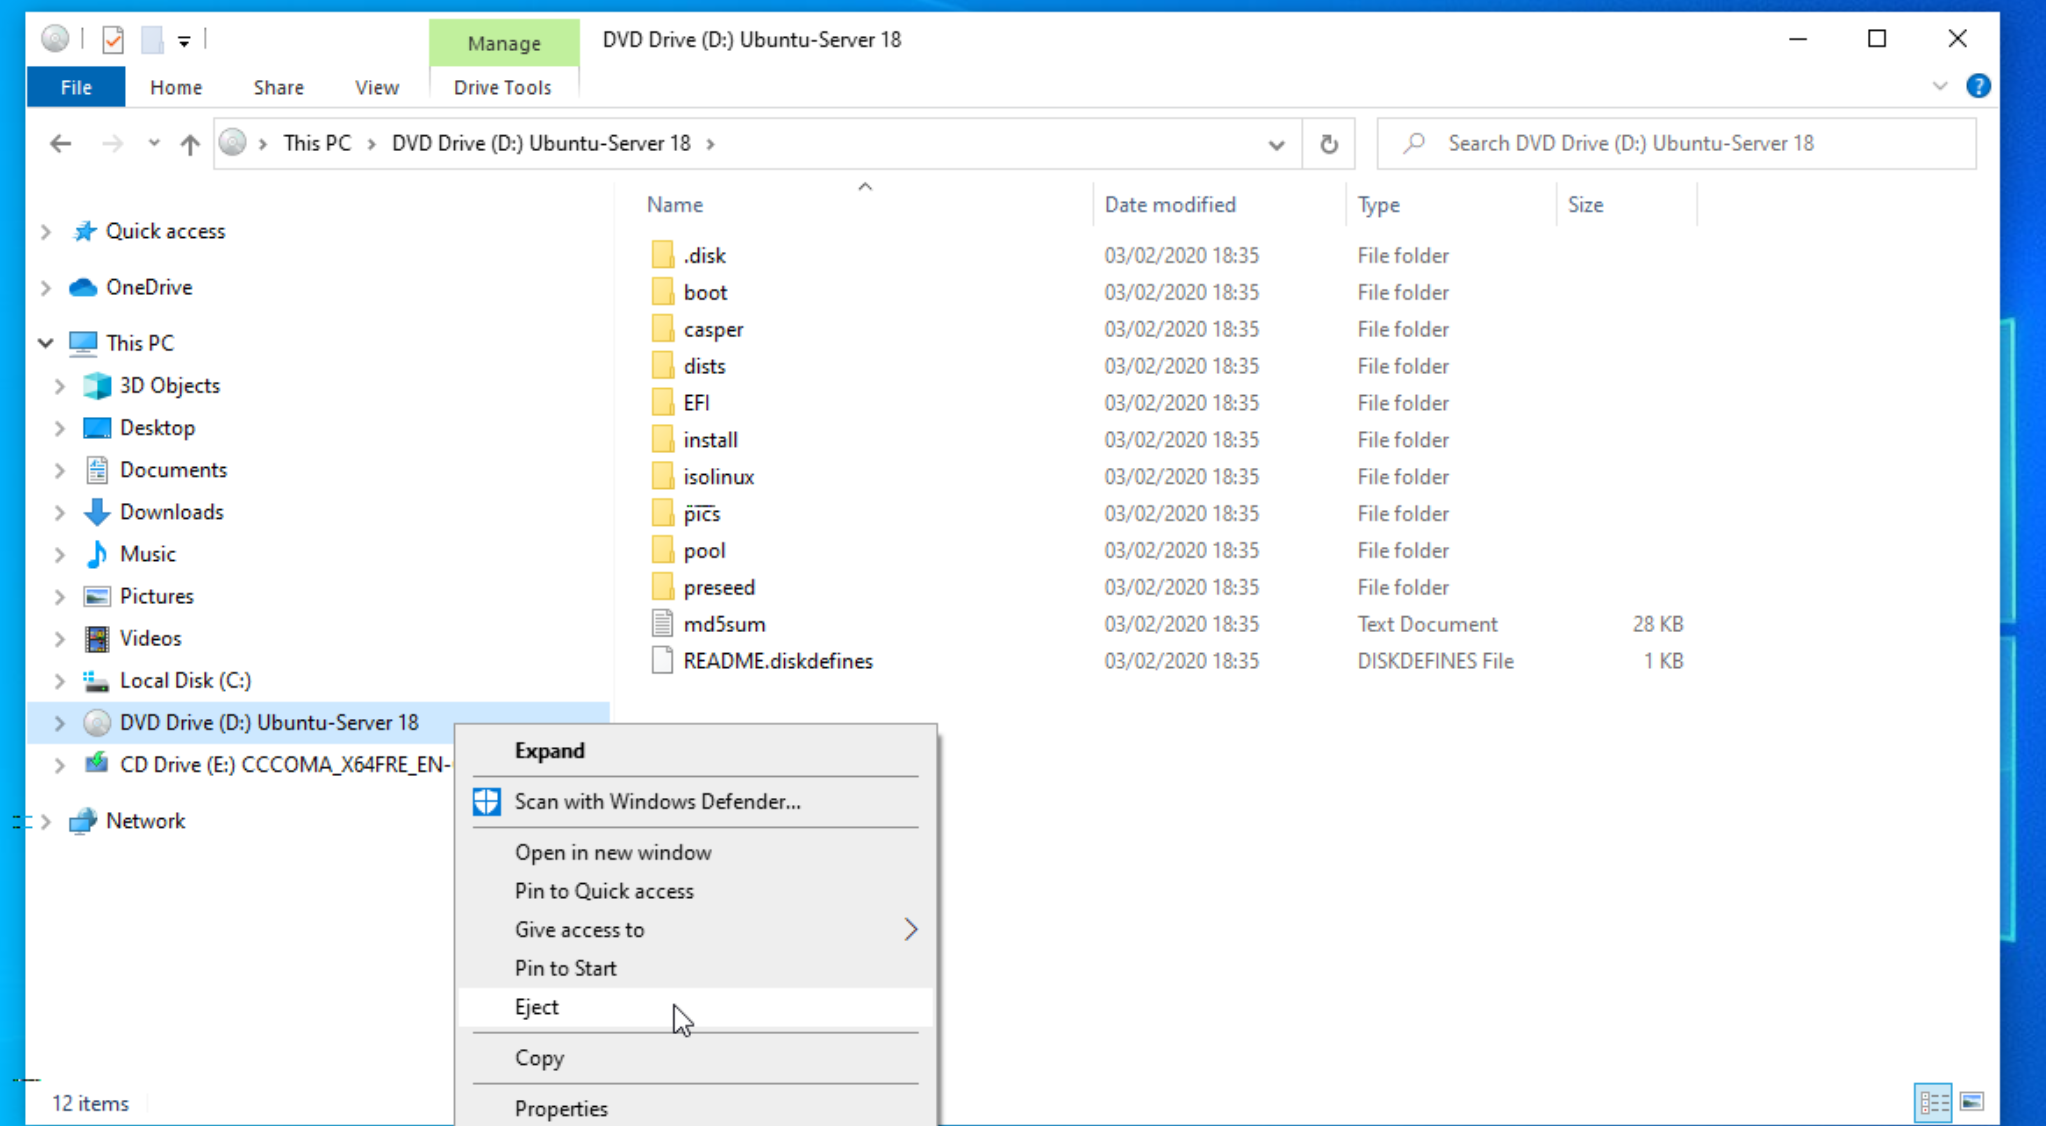
When you are done with the content of the ISO file, you have to right-click the virtual CD drive in Windows Explorer and select “Eject“.
Linux
The quickest method to mount mount ISO files in Linux is to open the terminal and use the following command:
sudo mount /path/to/image.iso /folder/where/to/mount -o loop -t iso9660
And when you are done you can use the following command:
sudo umount /folder/where/to/mount
If you use KDE, you can install this plugin for Dolphin and you will get the options on the right-click menu similar to the Windows ones above.
Mac OS X
To mount ISO files under MacOs X you can use the Disk Utility located in the /Applications/Utilities/ folder and go to File and “Open Image File” and select your ISO file. The ISO should now appear mounted on the Mac OS desktop.
