Skype doesn’t require much presentations as it is the top application to make calls between computers and from computers to regular phones; what many probably do not know is that Skype is available also for Linux and it works well … for the most parts.
If you are using a modern version of any major Linux distribution and you have problems using the microphone, you can use the following steps to configure Skype to use the PulseAudio microphone.
Configure Skype to use the PulseAudio microphone
The problem is quite easy to solve: you just need to install pavucontrol. From the graphical version of your package manager search “pavucontrol” and install it; if you want to use the terminal, give the following command:sudo apt-get install pavucontrol
Of course the above command works for Debian, (K)Ubuntu and derivatives; if you have a different distribution you have to use the appropriate program instead of apt-get.
Once you have installed pavucontrol close and restart Skype, go to “Options” -> “Audio devices” and uncheck the “Allow Skype to automatically adjust my mixer levels” option.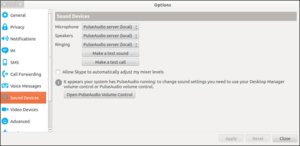
From the same screen click the “Open PulseAudio Volume Control” and check that PulseAudio is using the correct device on both “Input devices” and “Output devices”.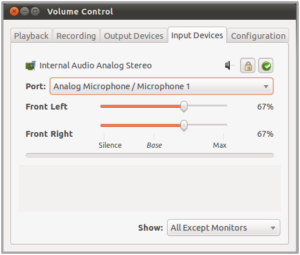
Now Skype should be able to use the PulseAudio microphone correctly.